Most times we want to do simple photo(s) edits like resizing, brightening but we cannot do it until when we get to pay a professional. Well here is a step by step howto on making edition by yourself.
First of all Microsoft picture manager is a Microsoft product that has been there since Microsoft office 2000. Over the years more and more tools have been added and therefore here in this article we will only tackle those that we need now.
Step 1:
Find the program - Microsoft Picture Manager
a) Go to your computer programs then click Start -> All programs -> Microsoft Office - > Microsoft Office (2007, 2010) tools then Microsoft Picture Manager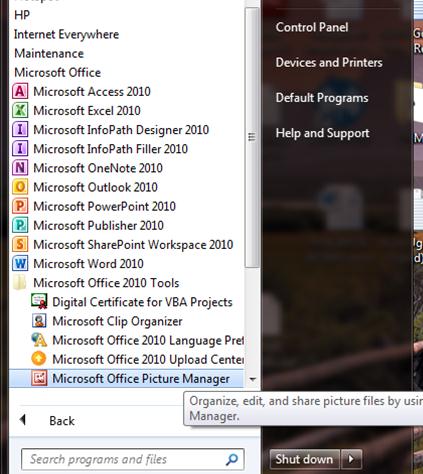
b) Or Right click on the image you want to edit and go to Open with “Picture Manager”
Step 2:
Once you have opened picture manager , we now want to start by resizing our photo.
Note: step b) is what I have continued with being its much shorter in importing the image into Picture manager.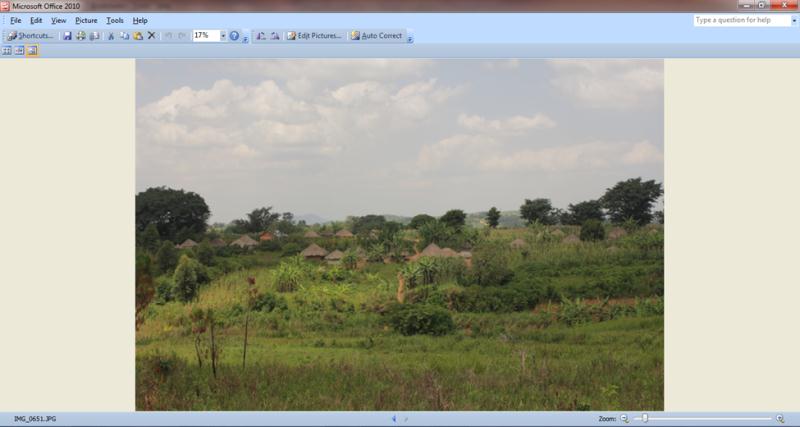
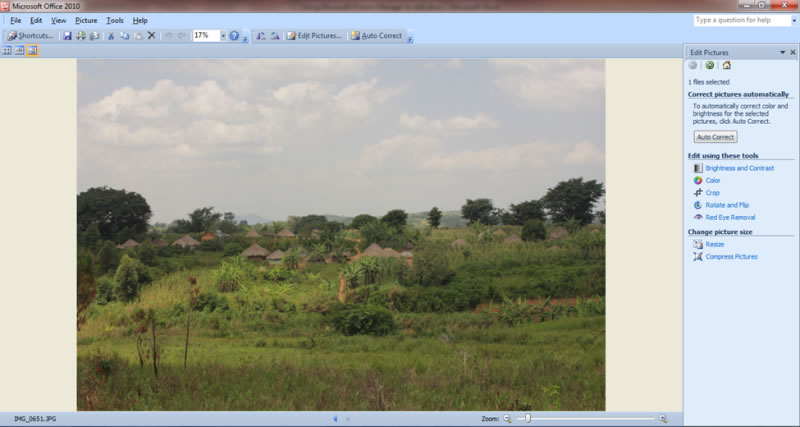
Click on Edit Pictures so that the Right Hand Menu (R.H.S) appears.
Resizing the Image
i) Click on the Resize button on Right Hand Side (R.H.S) .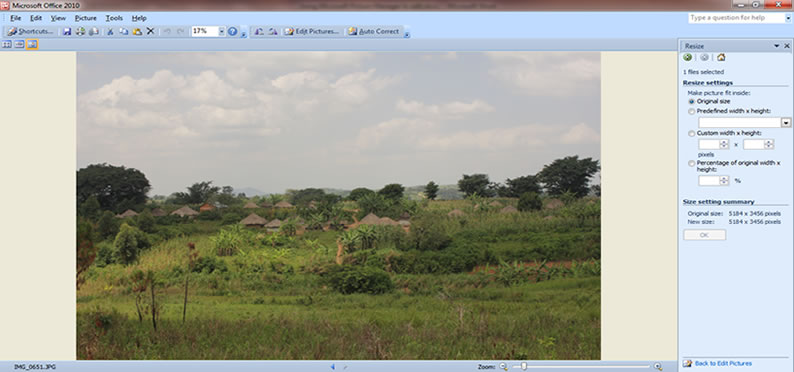
ii) After clicking on the resize button, you can decide to either use predefined size or custom size. So choose option you prefer.
Note: using predefined With x Height will simplify your work and make it quicker since the sizes given are much less what you need for any online or magazine or newsletter edit(s).
In our case we will want to edit a photo to use on our facebook cover photo for page or user account. So therefore we will go with “Document Small”.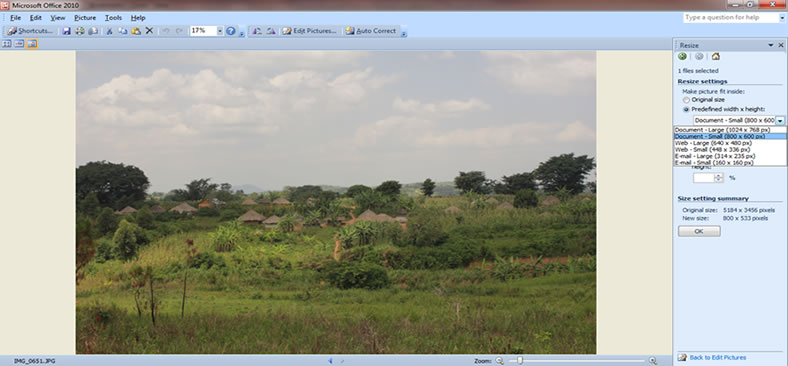
iii) Click OK so that your image assumes the new size and Save.
With above steps you have resized your image. You can use it on any doc or website of your choice in this case Facebook.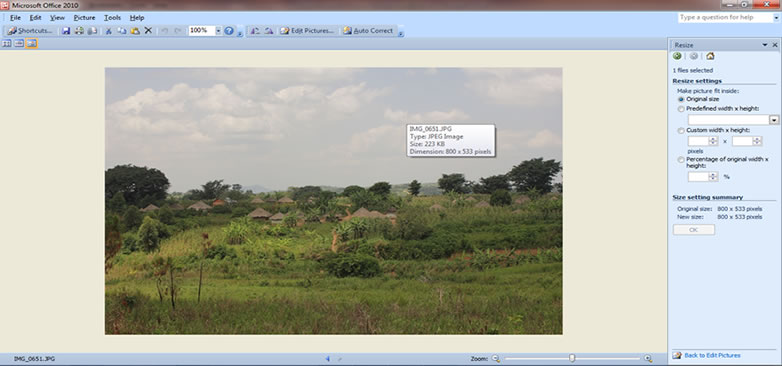
Adjusting image brightness & Contrast.
i) Click on “Edit Pictures”
ii) A Right Hand Side menu will appear, click on “Brightness and Contrast” button and you will be taken to brightness and contrast settings.
iii) You can decide to use auto brightness or do it yourself using the sliding buttons below auto brightness.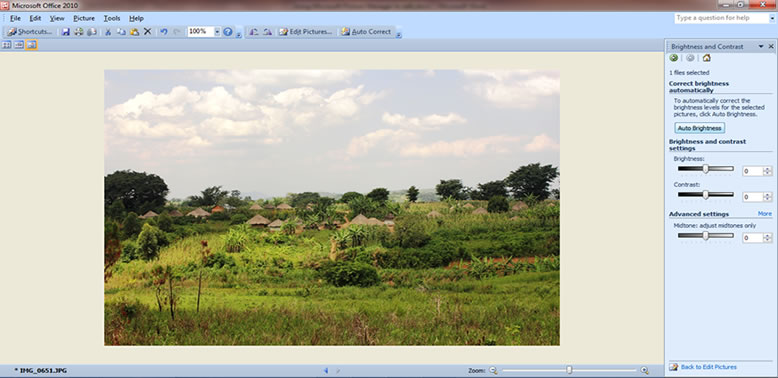
iv) Click Save.
v) Click on File -> Export . Under export settings on R.H.S you can go ahead to choose image format you want to use and also change the name if you wish too.
That is simplest way to edit
