
This article will show you how to setup an email signature in RoundCube.
1. Log in to Webmail and choose the RoundCube option, if not already your default webmail.

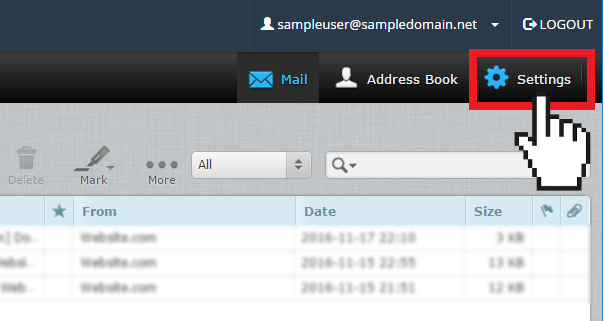
2. Click on Settings at the upper right side of the page. This will open the RoundCube Settings screen.
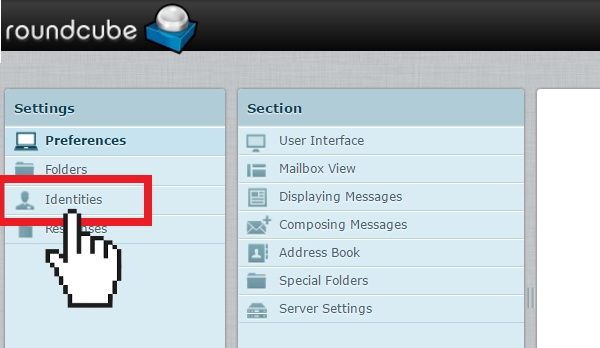
3. On the Settings screen, click on the Identities tab.
4. Select the email address that you want to create a signature for.
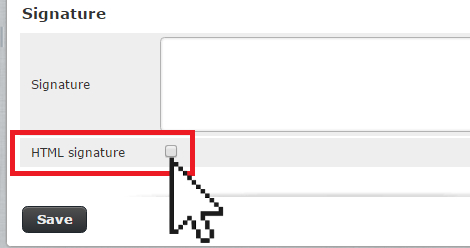
5. Scroll to the Signature section and enter your custom signature in the message box.
6. If you wish to use HTML in your signature, simply click the HTML Signaturecheckbox. This will change the standard message box to a HTML editor to allow for special formatting.
Note: Any image that you use in the signature must be accessible through the Internet or it will not work. The safest way is to add the image by it’s URL.
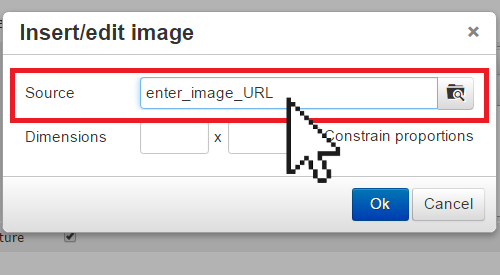
Steps of creating a URL for an image;
• Enter an image search query. Type a word or phrase into the text box in the middle of the page.
• Click the "Search" icon. ...
• Find your image. Scroll through the results until you find one which matches your needs.
• Open the image. Click the image once to do so.
• Copy the image's URL. ...
• Paste the URL.
7. Click Save.
You have now created your new email signature. The email signature will automatically appear when you compose an email your RoundCube webmail interface.
Note: If you also use a local mail client or a mobile device to send email messages, you will also need to add your signature in these applications as well.
